
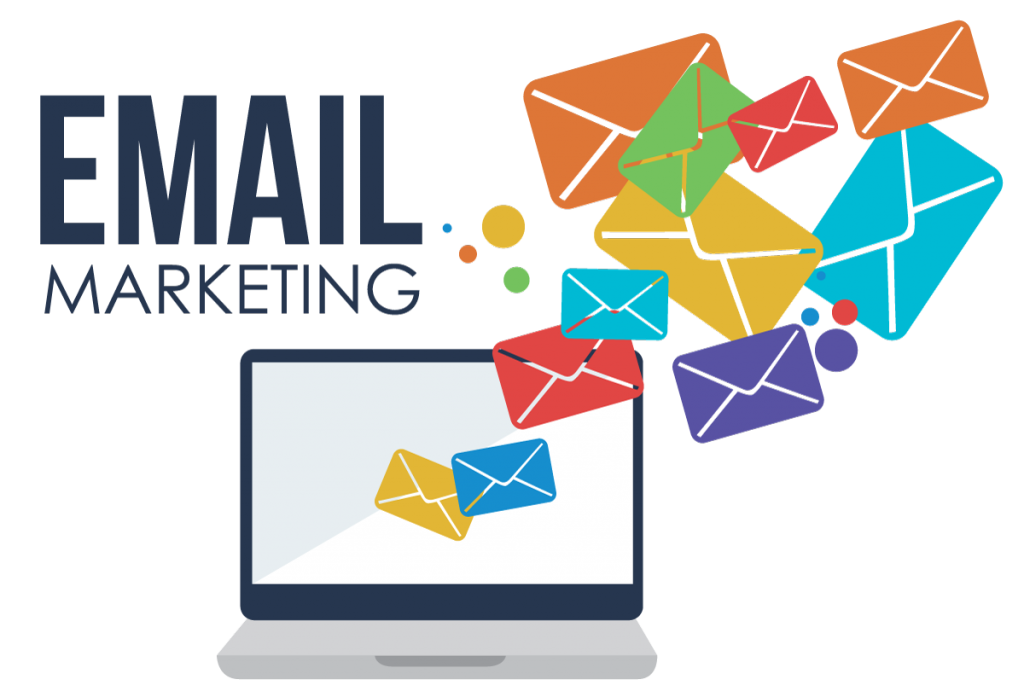
What is Email Marketing?
We send an email to our friends and another member its call one to one communication throw email but email Marketing is similar that but there are we send thousand email at one time. Gmail, yahoo, hotmail, etc. They have some limit to send the email to one, ex 25 – 30 email you can send but use email Marketing software you can send thousand email.
Email marketing is an internet based strategy that aims to build a bridge between companies and the general public. It is a relatively new technique so to say because it came into being after the advent of the internet and the World Wide Web. The strategy is heavily reliant upon carriers that allow people to send and receive electronic mail, which is typically called email.There are more paid or free Tools for email Marketing.
Mailchimp email Marketing platform
MailChimp is the free tool for use email Marketing, a free plan comes with the limit of 2,000 email contact and 12,000 emails sent per month. There are paid plans that offer more flexibility and additional features.
How to start sending Email with Mailchimp
First, go to MailChimp website on Register or Login Admin Panel. Then you shows following window click to left side menu bar and click to list option. Because sending the mail we need email list so we create email list. click to Create list Button.
Add the list Details, you can import email list file or manually add one by one email.
Add user manually or Import file
In that window, you show how you can add user email manually. You add the form to your blog to direct college email to a MailChimp email list.
Click the check box give the user permission to send the email that very important for email Policy.
Then, go left site menu bar to click to Template option create a template you show menu Template design, you can choose any one if you like, Select the Template.
Add your image and your content or Message if you can send your user to throw email, advice : – use *|LIST: NAME|* this in after Hey or Hi because *|LIST: NAME|* code is automatically pick the email holder name.
Ex. Hey, Alex
You can add the link to your Image that calls call to action button user click image they redirect your blog or landing page.
You can add Social share Button for user connect with us on social media. Write the headline, content and add button image for action .you can change color, text style, everything. Adding content click to save & close button.
Then your content ready click to footer right site save& exit button and write your template name.
Then next you can click edit option on your template you show, create a campaign.
Who are you sending to?
Campaign info
Select your mail list if you want to send and click to NEXT button on left footer side.
Add all information in input, campaign name, email subject, from email in that input you can write your company or website email id that are shown in user inbox for the reply. Always click the Personalize the “TO” field option, Click to Next Button to process.
Review your content edit are check and click to NEXT, you show following window some time show some issue “resolve” for EDIT place that mean something wrong for your template area.
Then all ok click for Preview and Test option and click to test mail and send one texting email to self and check your email inbox all is perfect, and send email to user all user.
Then click on send button click again send now after send now click your mail is sending to your list members.
its Done!